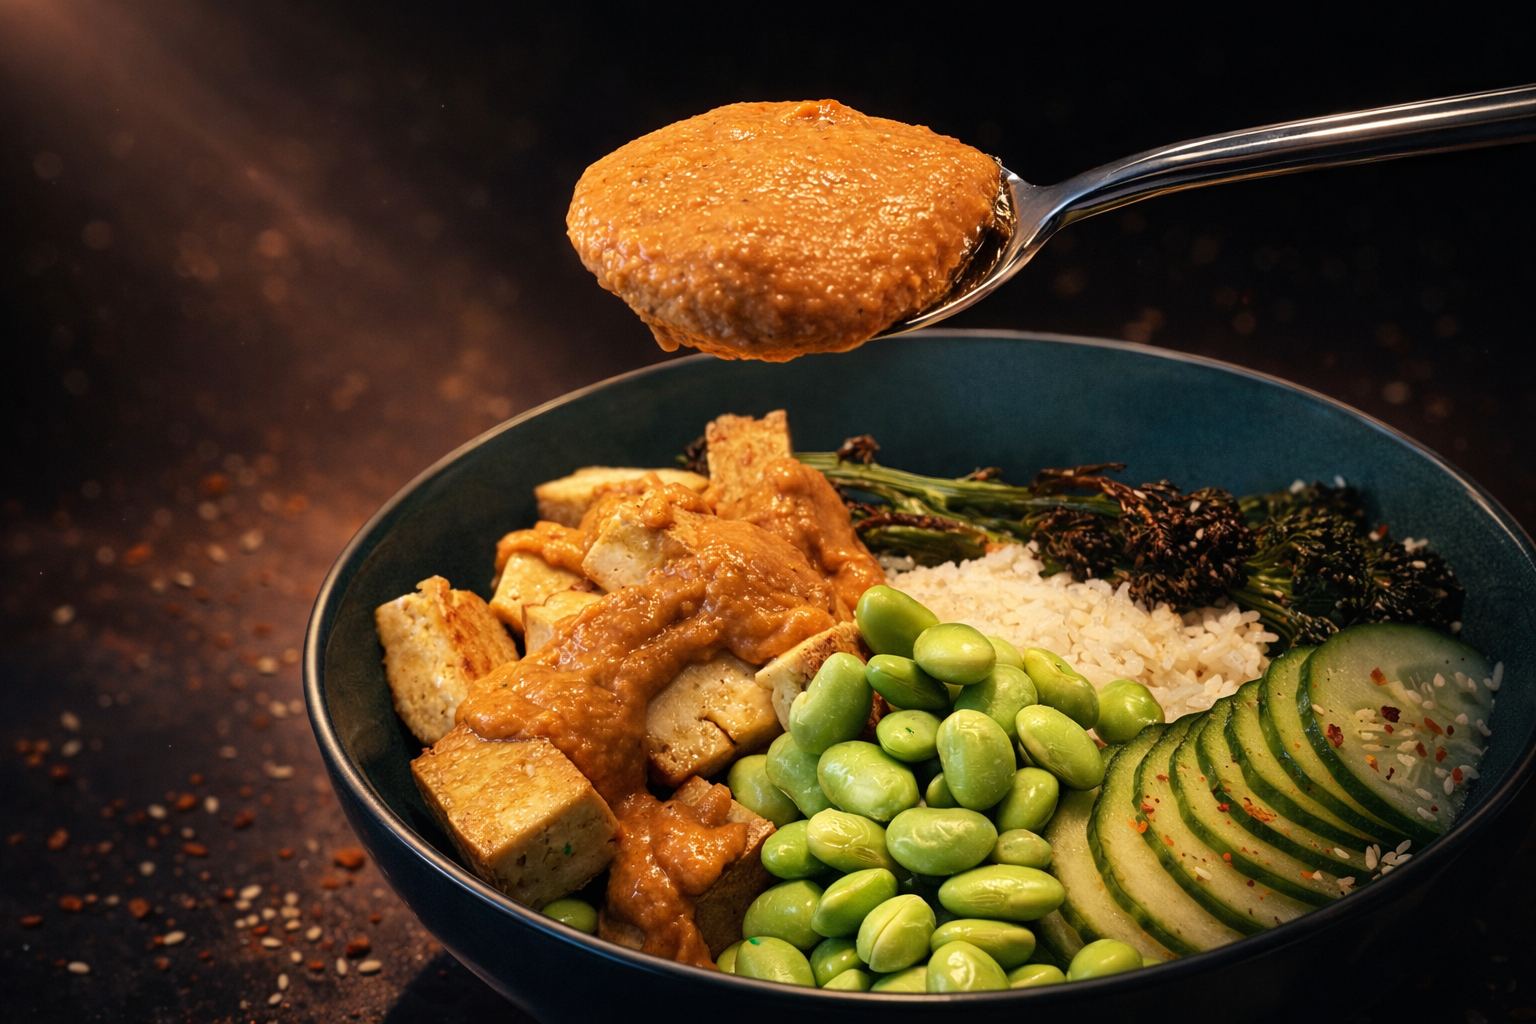
The Ultimate Guide to Menu Photos for Delivery Apps
In the competitive world of food delivery, your menu photos are often the first and only impression customers get of your food before ordering. Studies show that restaurants with professional-quality photos see up to 30% more orders than those with poor or missing images.
This comprehensive guide will walk you through everything you need to know about creating menu photos that drive orders on platforms like Uber Eats, DoorDash, Grubhub, and more.
Average increase in orders for restaurants with professional menu photos
Why Menu Photos Matter More Than Ever
The food delivery market has exploded in recent years, with customers now having hundreds of restaurant options at their fingertips. In this crowded marketplace, your menu photos serve as your storefront window.
The Psychology of Food Photography
When customers scroll through delivery apps, they make split-second decisions based on visual appeal. Professional food photography triggers:
- Appetite appeal: Well-lit, vibrant photos make food look more appetizing and crave-worthy
- Trust signals: Quality photos suggest quality food and a professional operation
- Reduced uncertainty: Clear photos help customers know exactly what they're ordering
- Emotional connection: Great food photos can evoke memories and cravings that drive impulse orders
The Cost of Poor Photos
Restaurants with low-quality, dark, or missing menu photos face significant disadvantages:
- Lower visibility in search results (platforms favor listings with photos)
- Higher scroll-past rates as customers skip unappealing images
- More order cancellations when delivered food doesn't match expectations
- Negative reviews mentioning "food doesn't look like the picture"
Photo Requirements by Platform
Each delivery platform has specific requirements for menu photos. Meeting these specifications ensures your images display correctly and look their best.
| Platform | Minimum Size | Recommended | Aspect Ratio |
|---|---|---|---|
| Uber Eats | 320 x 320 px | 1200 x 800 px | 3:2 |
| DoorDash | 300 x 300 px | 1200 x 900 px | 4:3 |
| Grubhub | 400 x 400 px | 1200 x 800 px | 3:2 |
| Postmates | 320 x 320 px | 1200 x 800 px | 3:2 |
Pro tip: Always upload the highest resolution images possible. Platforms will automatically resize them, but starting with high-quality originals ensures the best results across all devices.
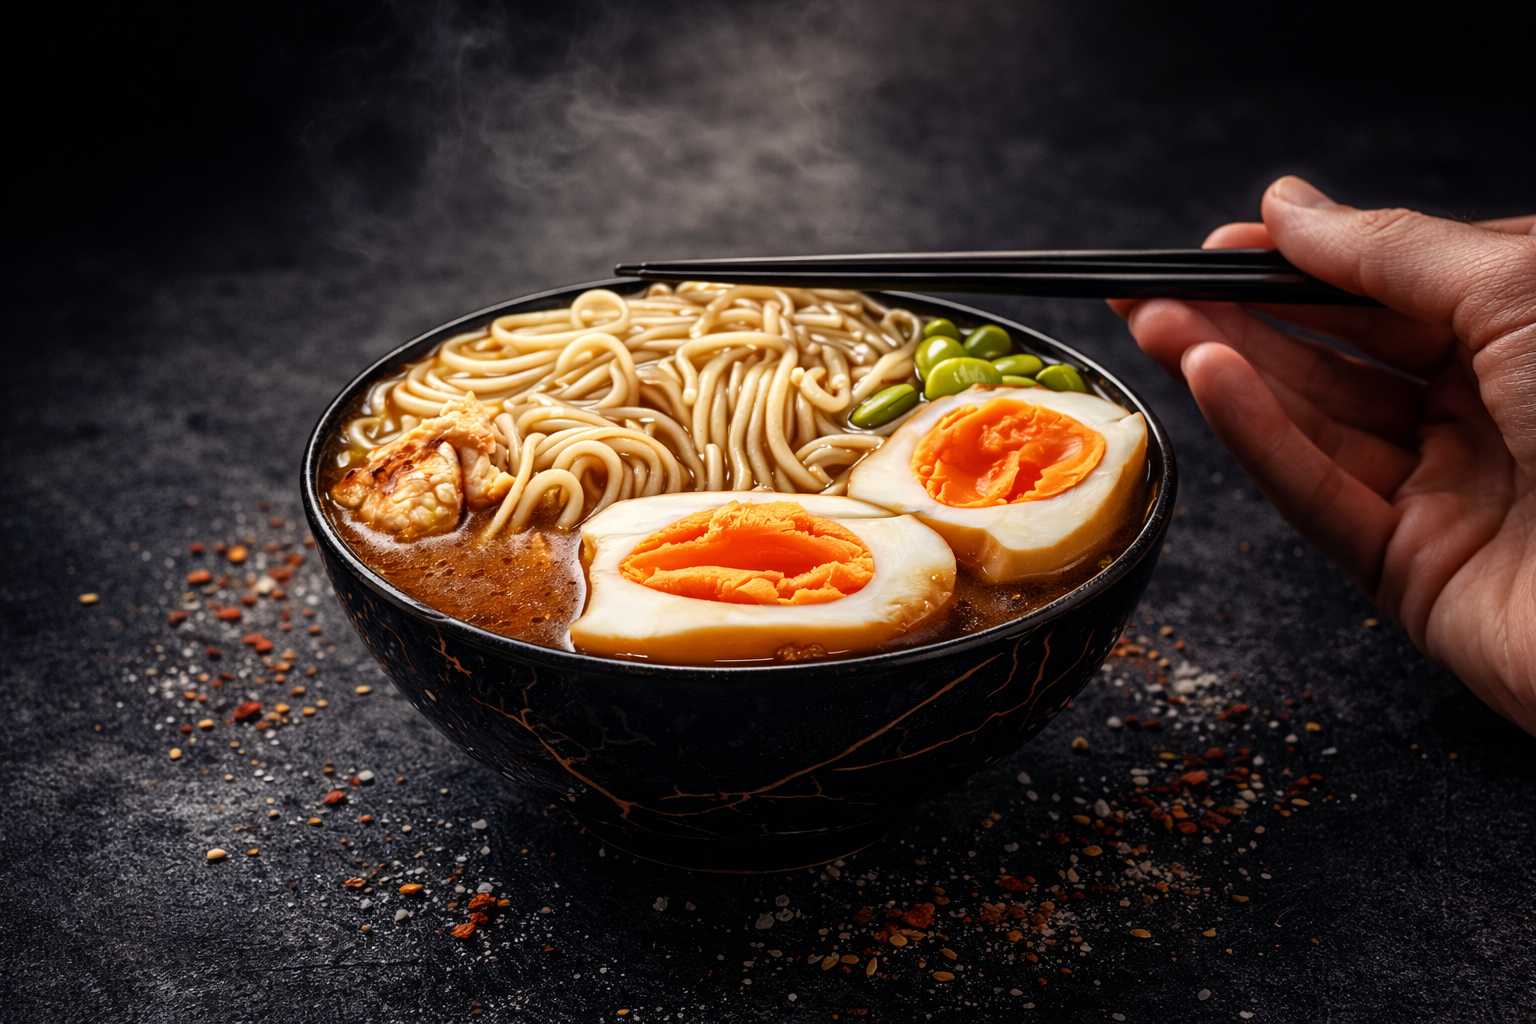
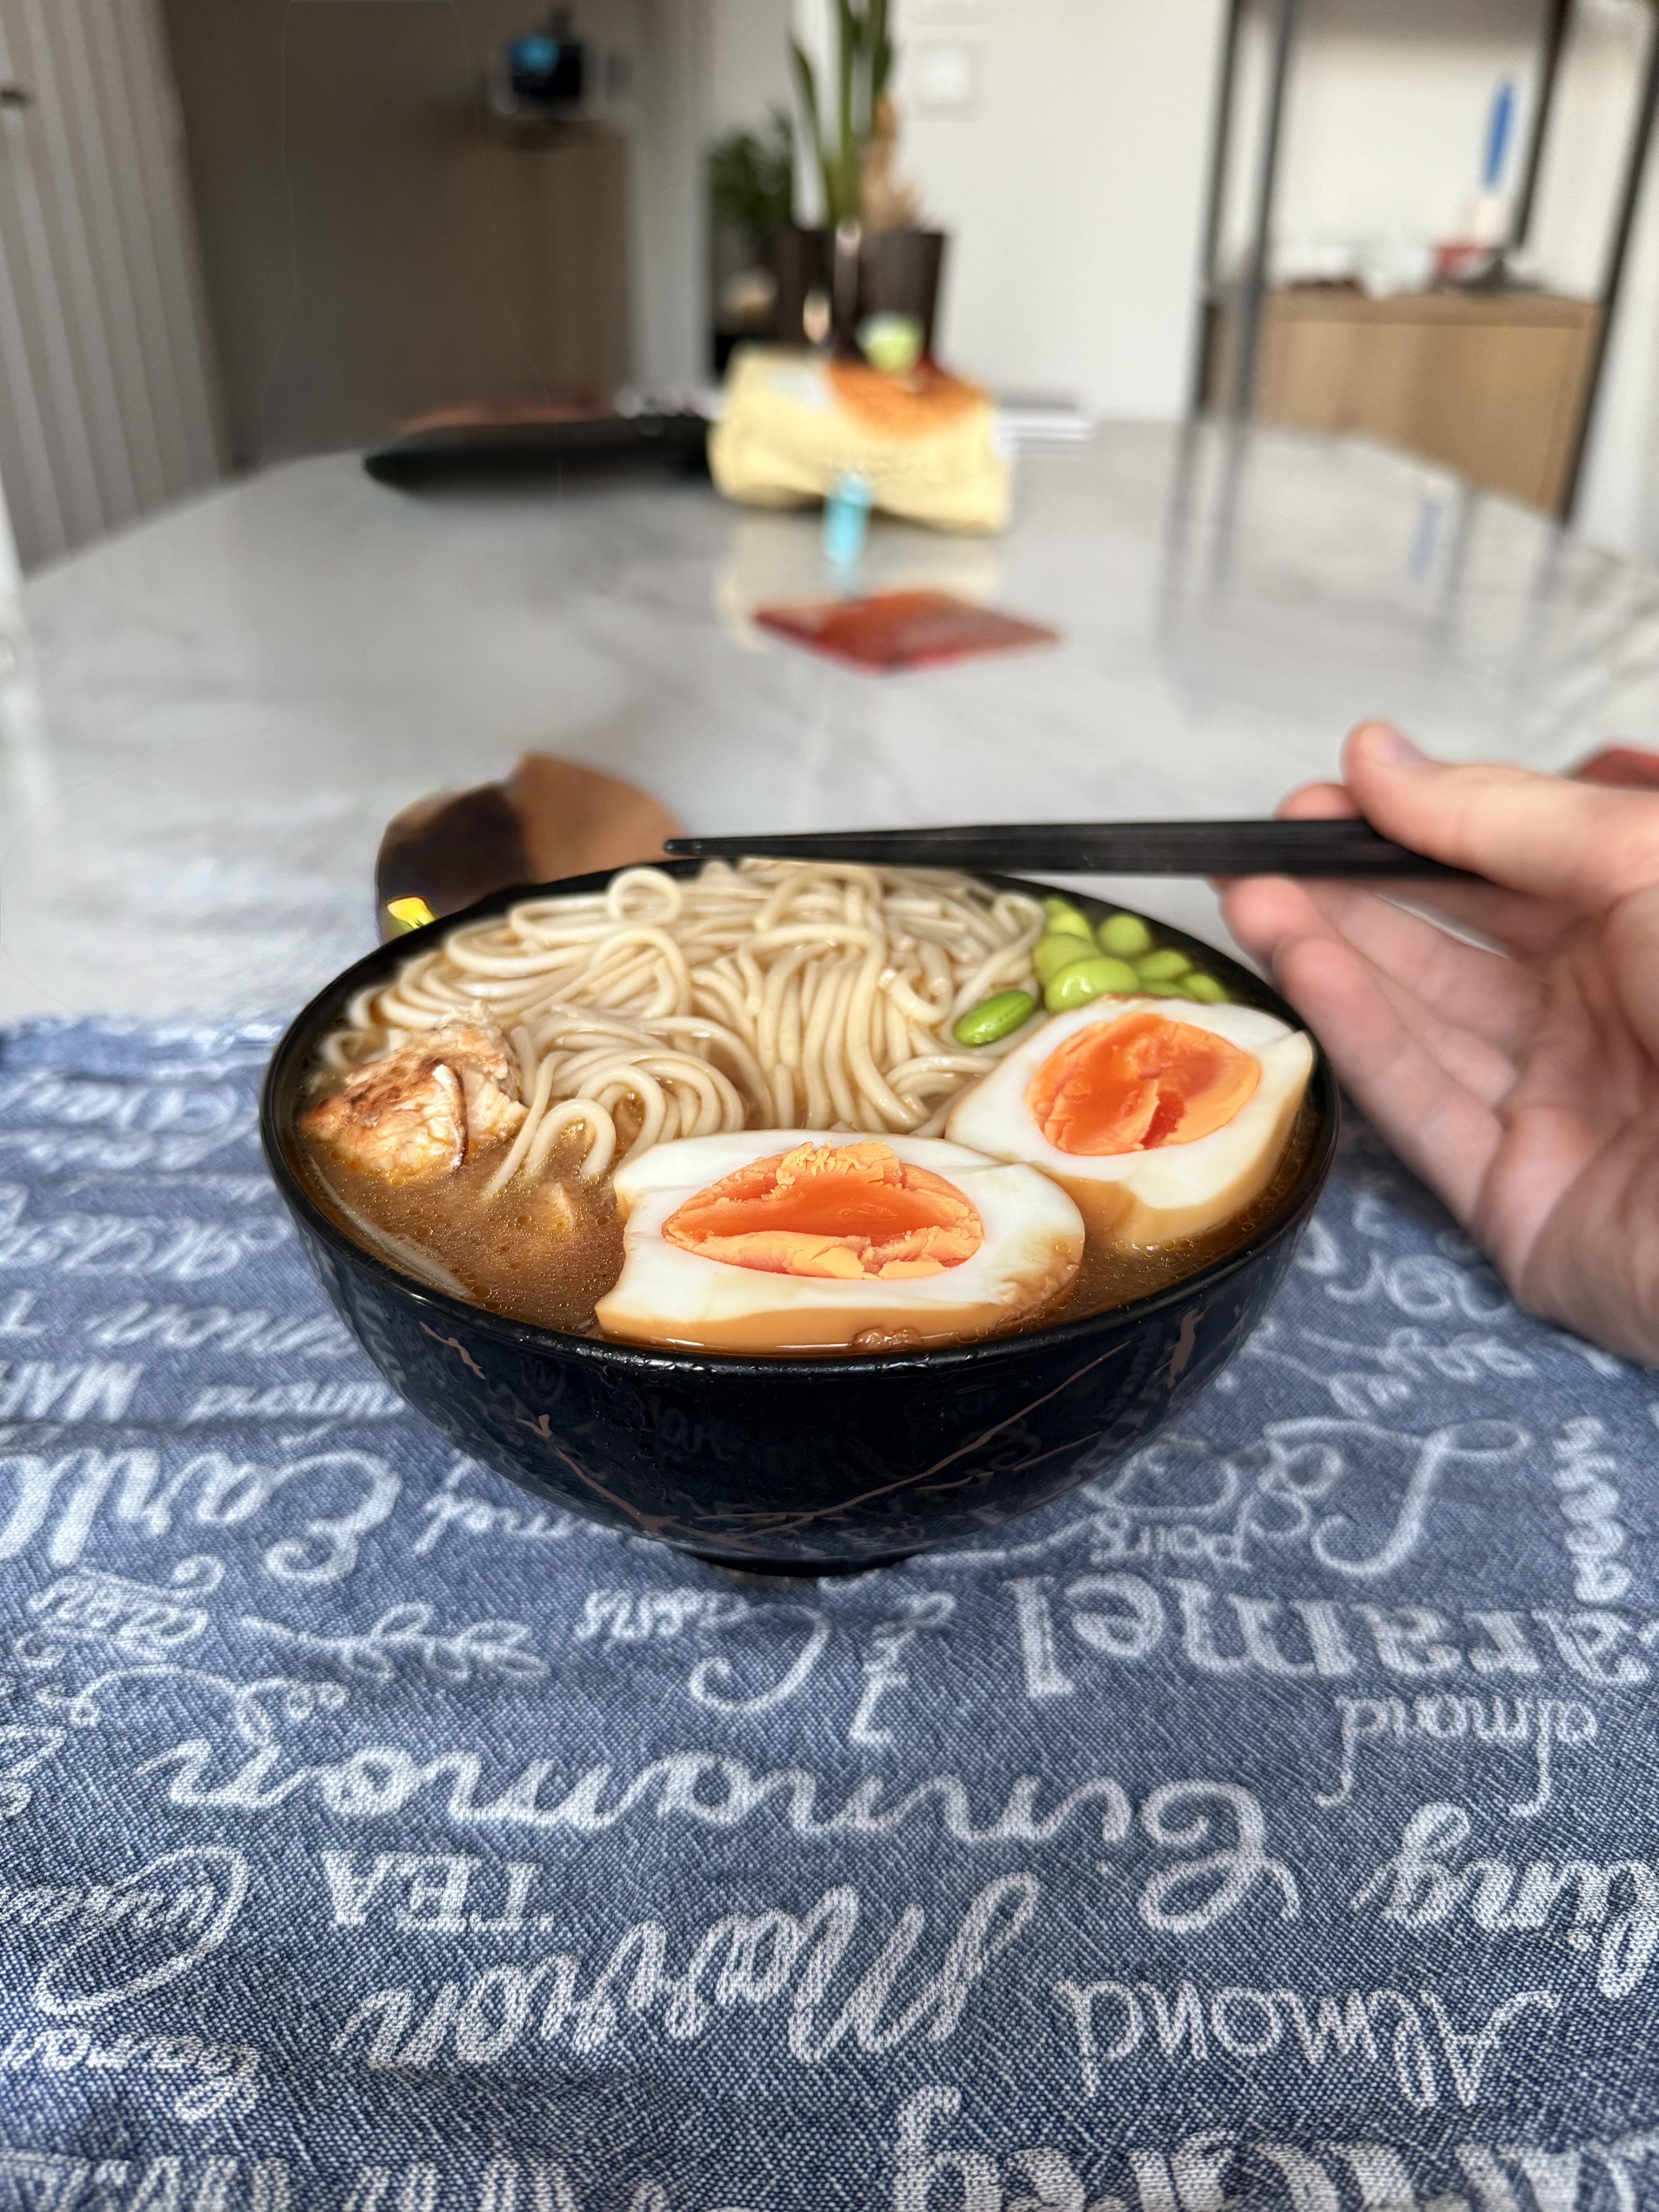
Before & After: The Power of Professional Enhancement
Even a good photo taken with a smartphone can be dramatically improved with professional enhancement. Here's an example of what's possible:
 Before
After
Before
After
Notice the differences: improved lighting brings out the colors of the ingredients, enhanced contrast makes the dish pop, and professional color grading gives it that menu-worthy look.
DIY vs. Professional Photography
The DIY Approach
Taking your own photos can work if you follow these best practices:
- Natural lighting: Shoot near a window during daylight hours
- Clean backgrounds: Use simple, uncluttered backgrounds
- Proper angles: 45-degree overhead angle works for most dishes
- Fresh preparation: Photograph food immediately after plating
- Steady shots: Use a tripod or rest your phone on something stable
Professional Photography
Hiring a professional food photographer provides the best results but comes with significant costs:
- Average cost: $500-2,000 per session
- May require closing the restaurant during the shoot
- Limited to the photos taken during the session
- Updates for menu changes require additional sessions
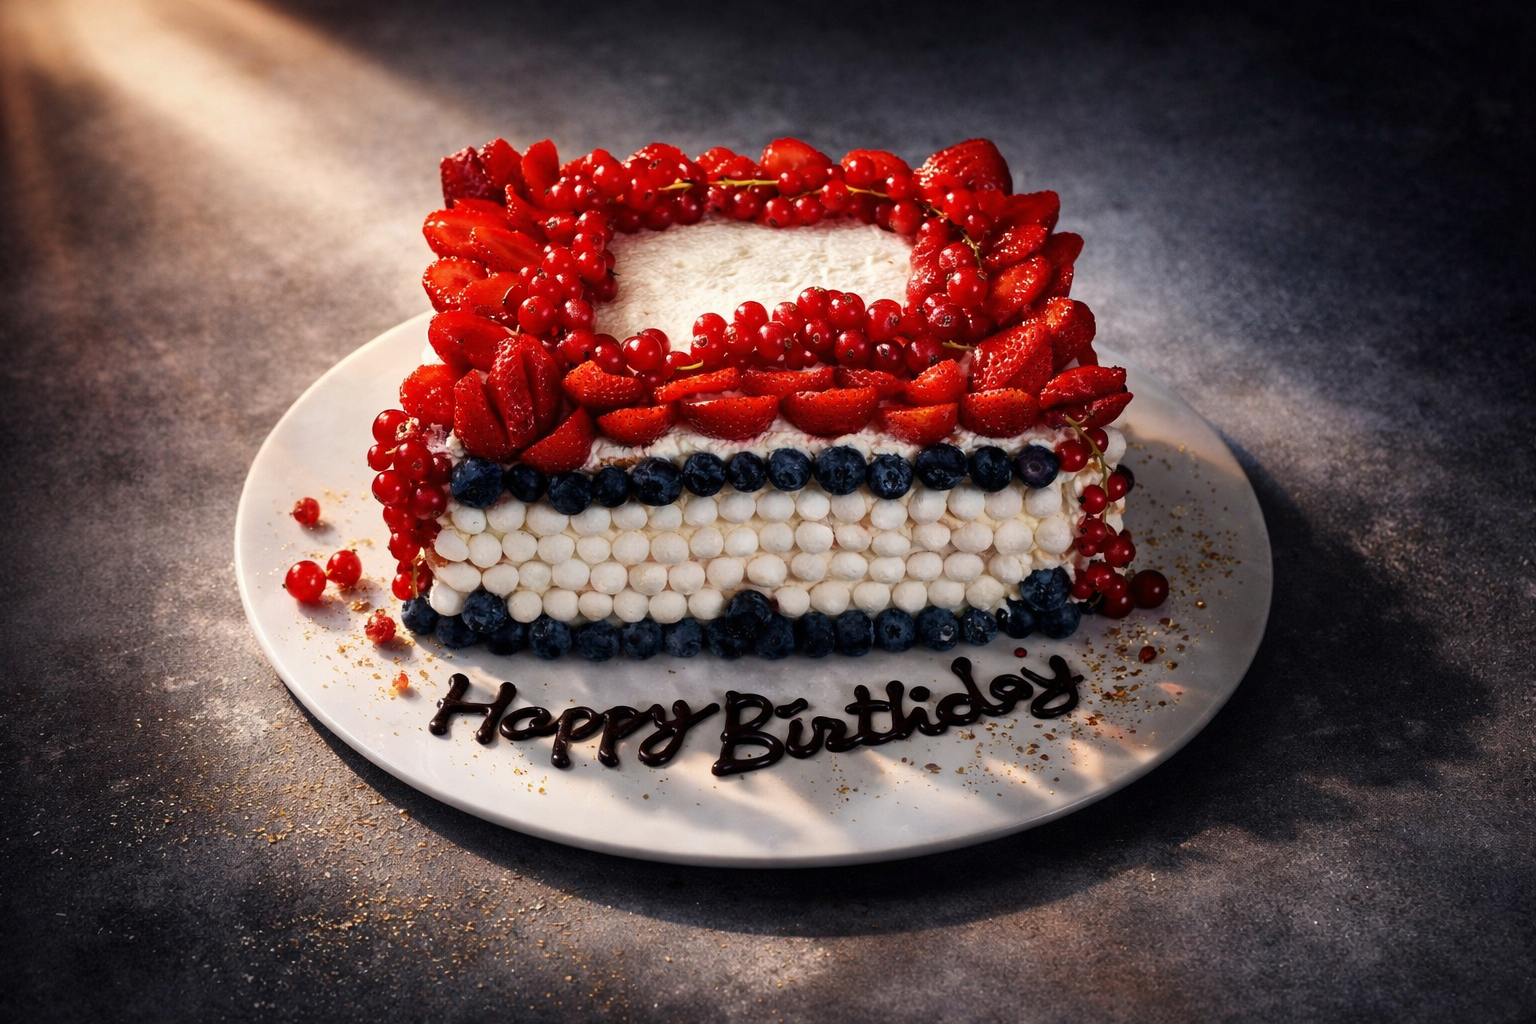
The Best of Both Worlds: AI-Powered Enhancement
Modern AI technology offers a middle ground: you take photos with your smartphone, and AI transforms them into professional-quality images. This approach combines the convenience of DIY with near-professional results.
 Before
 After
After
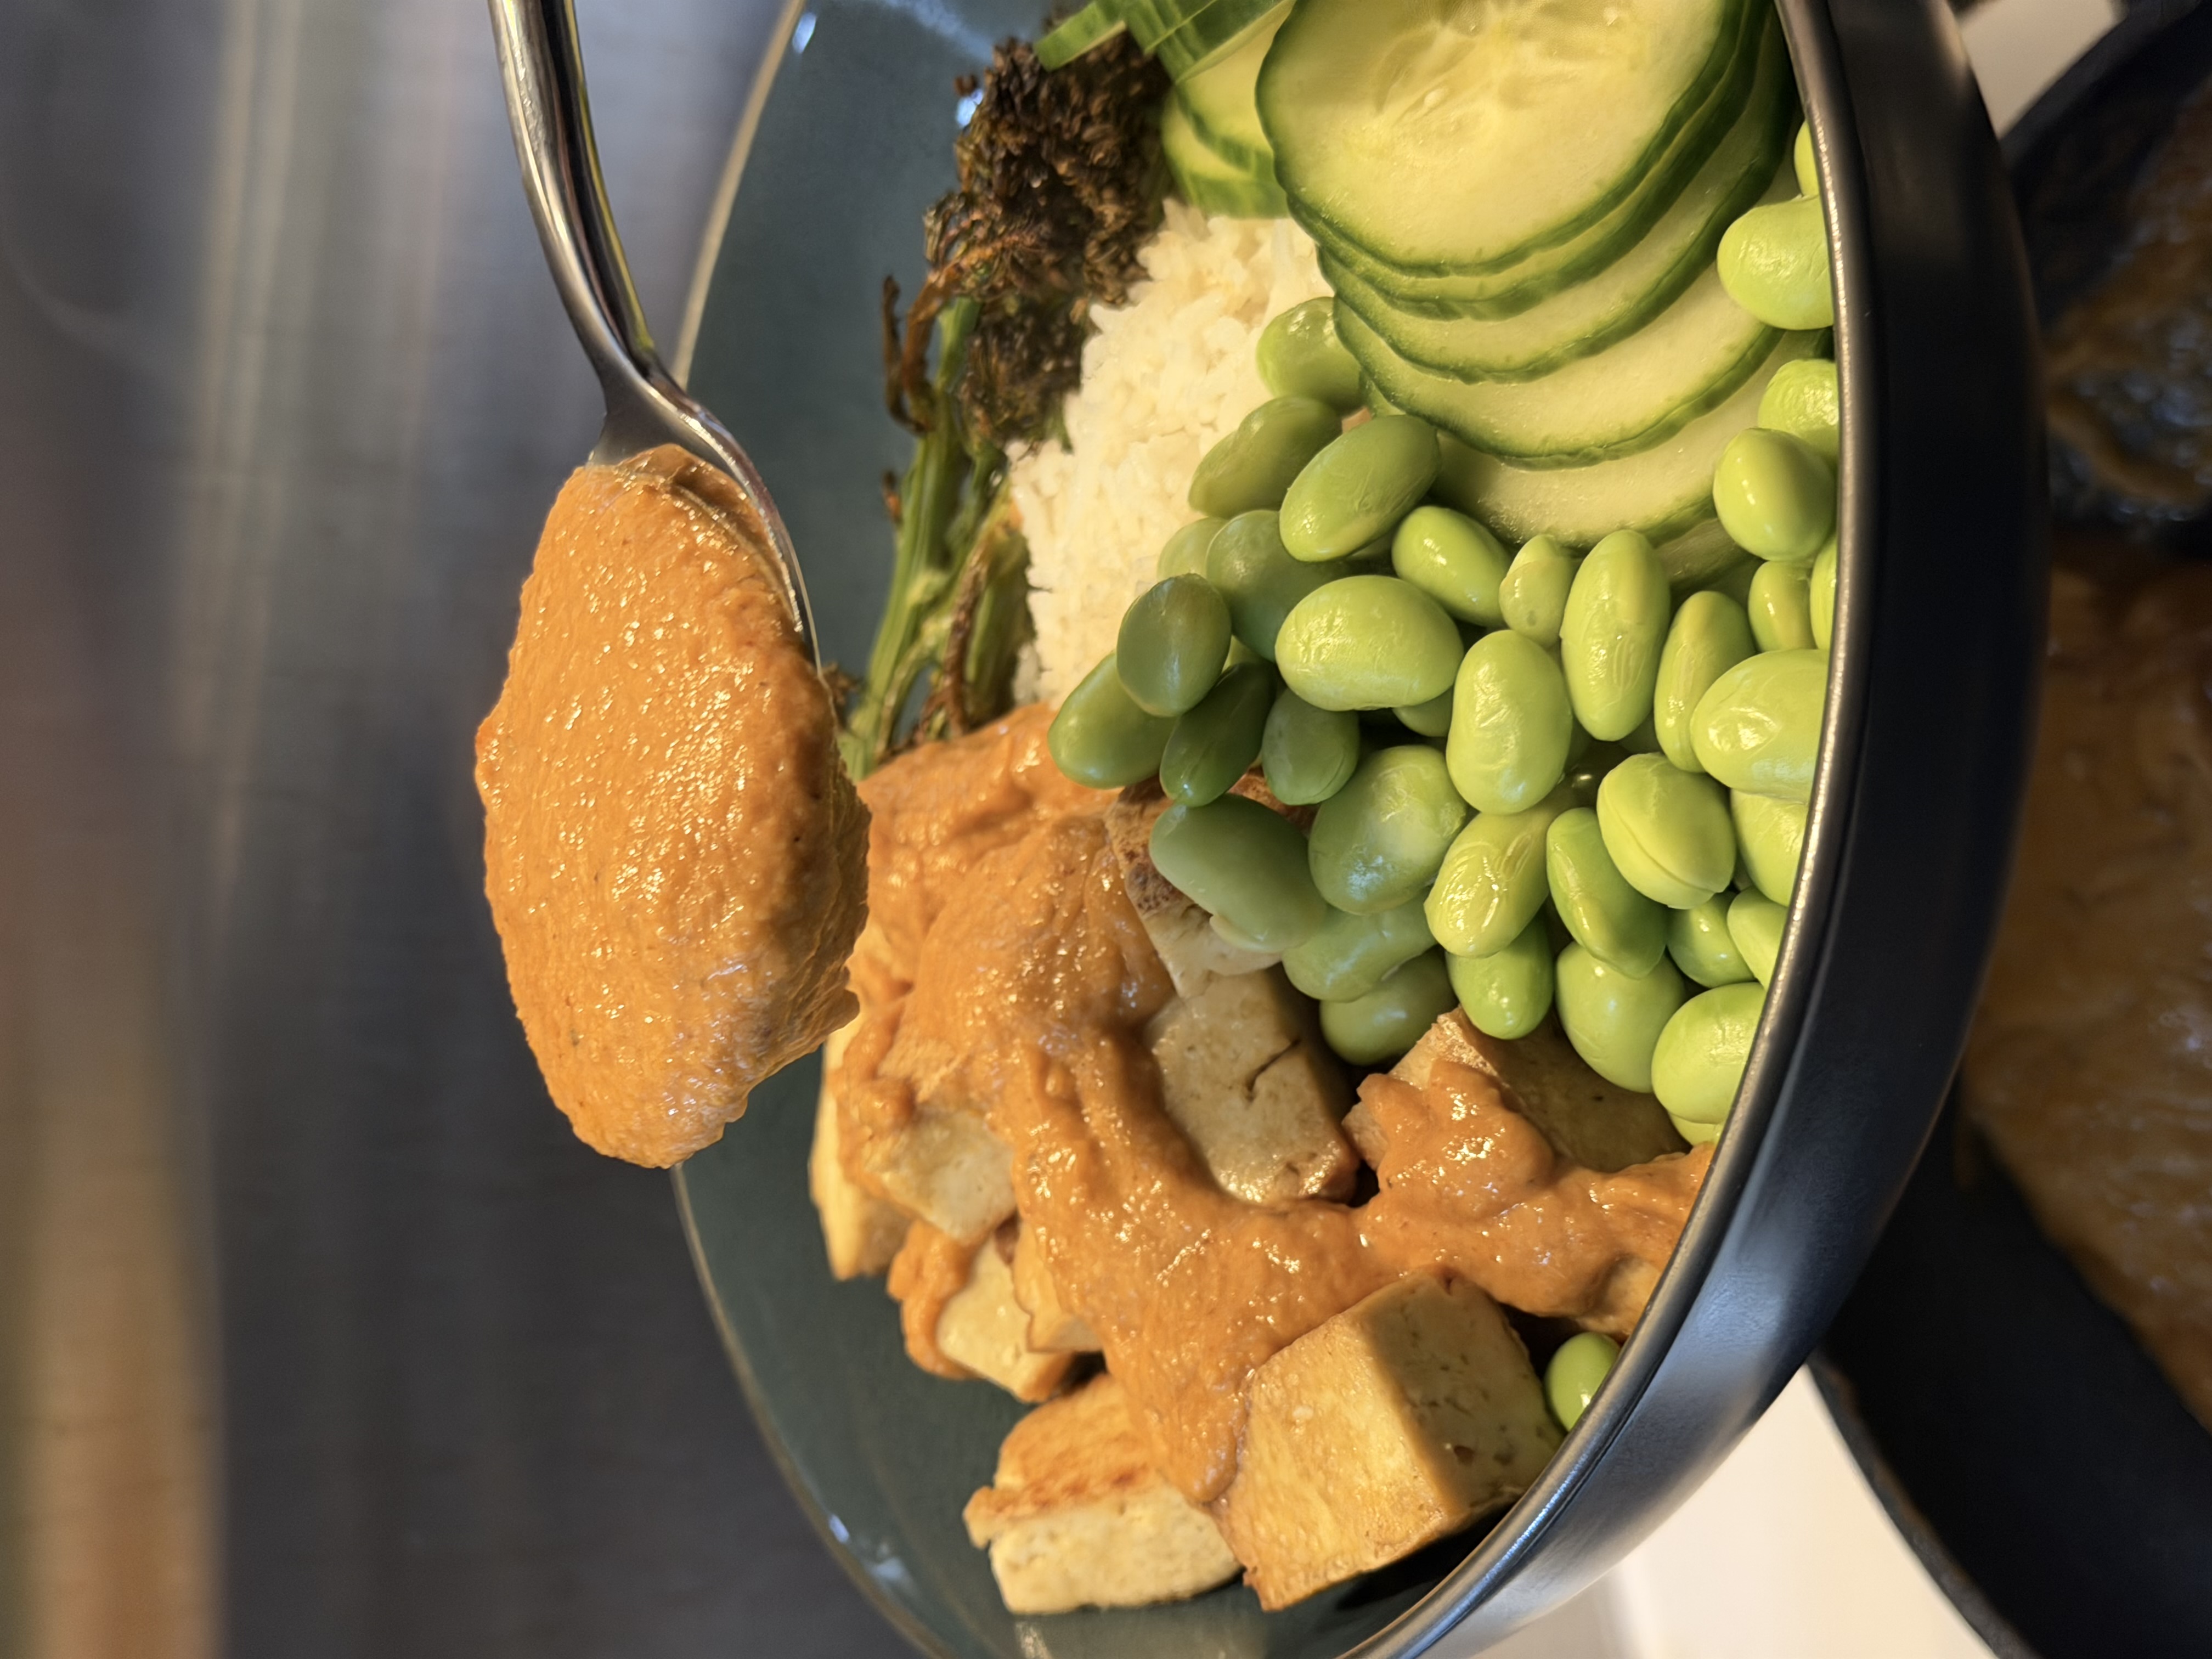
How to Enhance Your Menu Photos with Plated
Plated makes it easy to transform your smartphone food photos into professional menu images. Here's how it works:
-
Take a photo
Use your iPhone to capture the dish. Natural lighting works best, but the app can enhance photos taken in any condition. -
Choose your style
Select "Menu" style for clean, professional images perfect for delivery apps, or "Editorial" for more dramatic, social media-ready shots. -
Let AI work its magic
In about 10-30 seconds, Plated's AI enhances lighting, adjusts colors, and gives your photo that professional touch. -
Download and upload
Save your enhanced photo and upload it directly to your delivery platform accounts.
 Before
 After
After
Ready to Transform Your Menu Photos?
Join thousands of restaurant owners using Plated to create professional menu images.
Download PlatedCommon Menu Photo Mistakes to Avoid
- Poor lighting: Dim, yellow, or fluorescent lighting makes food look unappetizing
- Cluttered backgrounds: Distracting elements take focus away from the food
- Wrong angles: Shooting straight-on often hides the dish's best features
- Cold food: Steam and freshness matter—photograph immediately
- Over-editing: Too much saturation or filtering looks fake and misleading
- Inconsistent styling: Your menu should have a cohesive visual identity
- Low resolution: Blurry or pixelated images scream unprofessional
- No photos at all: This is the biggest mistake—always have photos for every menu item
Tips for Specific Food Types
Hot Dishes & Soups
Capture steam by photographing immediately after plating. The warmth signals freshness and makes the dish more appealing.
Burgers & Sandwiches
Use toothpicks to keep layers in place. Shoot from a slight angle to show the filling without everything sliding out.
Desserts
Desserts often look best from directly above or at a 45-degree angle. Add context with a fork or napkin, but keep it minimal.
Beverages
Show condensation on cold drinks by misting with water. For hot beverages, capture steam rising from the cup.
Updating Your Photos: Best Practices
- Update seasonal items with appropriate styling
- Refresh photos quarterly to maintain freshness
- A/B test different photos to see which drives more orders
- Re-photograph items that receive complaints about appearance
- Keep your best-performing photos consistent
Conclusion
Professional menu photos are no longer optional in the food delivery business—they're essential for success. Whether you hire a professional photographer, master DIY techniques, or use AI-powered enhancement tools like Plated, the investment in quality food photography pays for itself many times over in increased orders.
The key is consistency: every item on your menu should have an appetizing, professional photo that accurately represents what customers will receive. Start with your top-selling items and work your way through the entire menu.
Ready to get started? Download Plated and transform your first photo in under a minute. See the difference professional enhancement makes for your menu.