Uber Eats Photo Requirements: Complete 2025 Guide
Want to stand out on Uber Eats and attract more customers? High-quality menu photos are your secret weapon. This guide covers everything you need to know about Uber Eats photo requirements, from technical specifications to proven best practices that drive orders.
Uber Eats Photo Specifications
Before uploading your menu photos, make sure they meet Uber Eats' technical requirements:
Pro tip: Always upload the highest resolution images possible. Uber Eats displays photos at different sizes across devices, and higher resolution ensures crisp images everywhere.
Why Photo Quality Matters on Uber Eats
Uber Eats uses a search and recommendation algorithm that considers photo quality. Restaurants with professional photos benefit from:
- Better search placement: Quality photos signal a quality restaurant to the algorithm
- Higher click-through rates: Appetizing photos stop scrollers and get clicks
- Increased conversion: Clear photos reduce ordering hesitation
- Featured placement opportunities: Uber Eats often features restaurants with great visuals
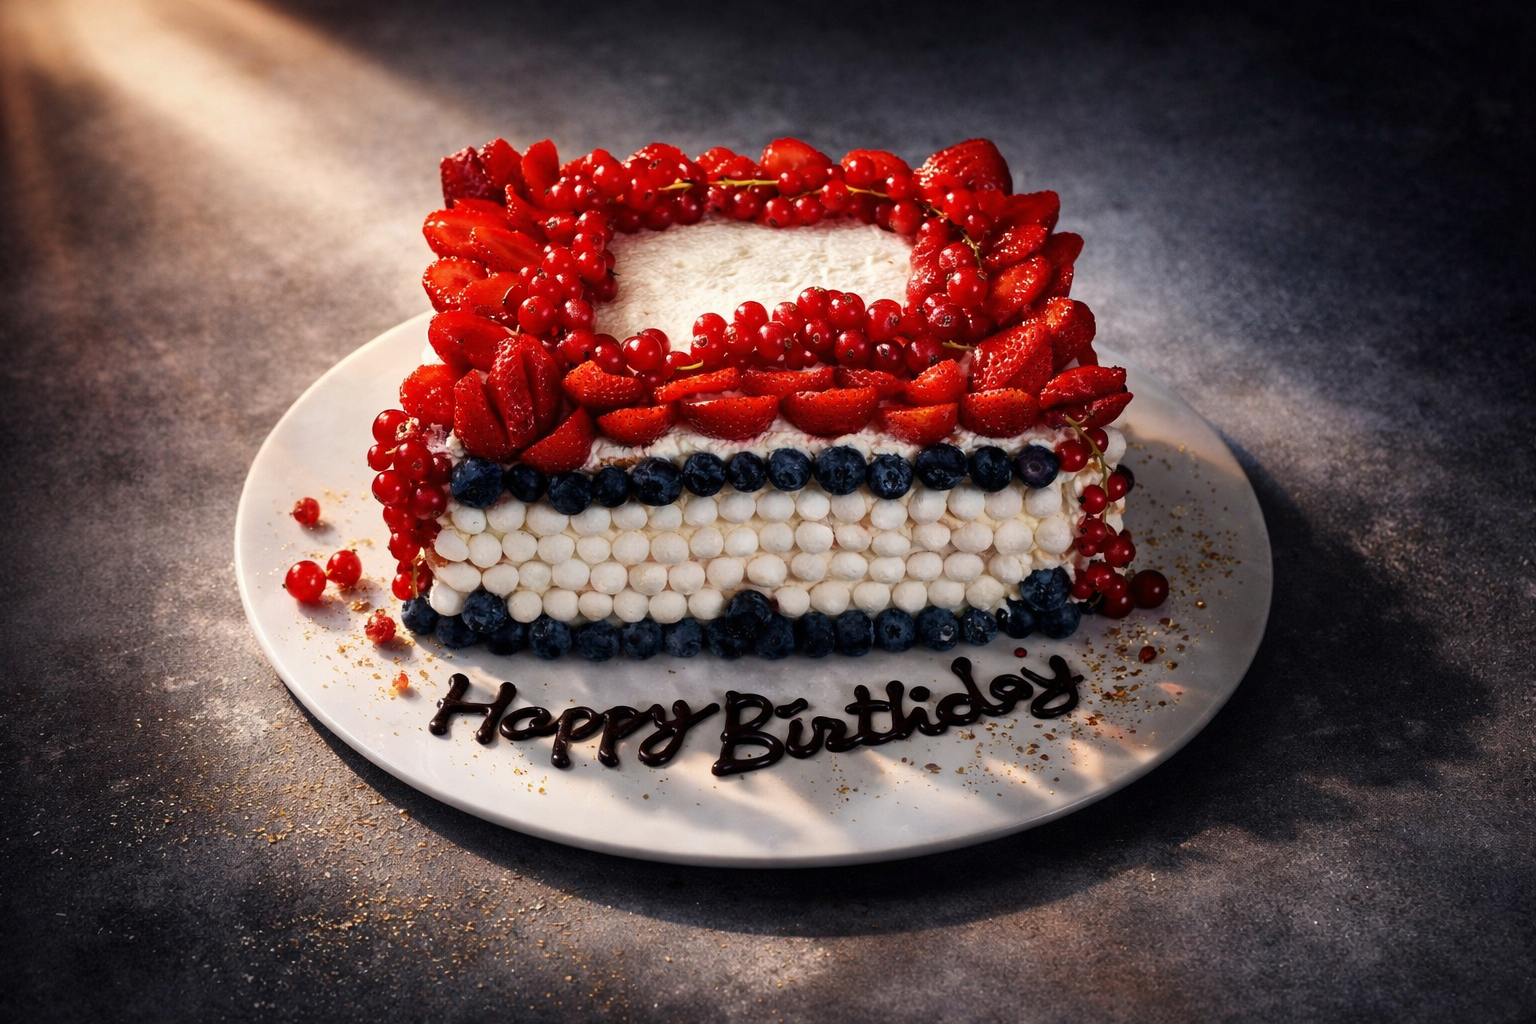
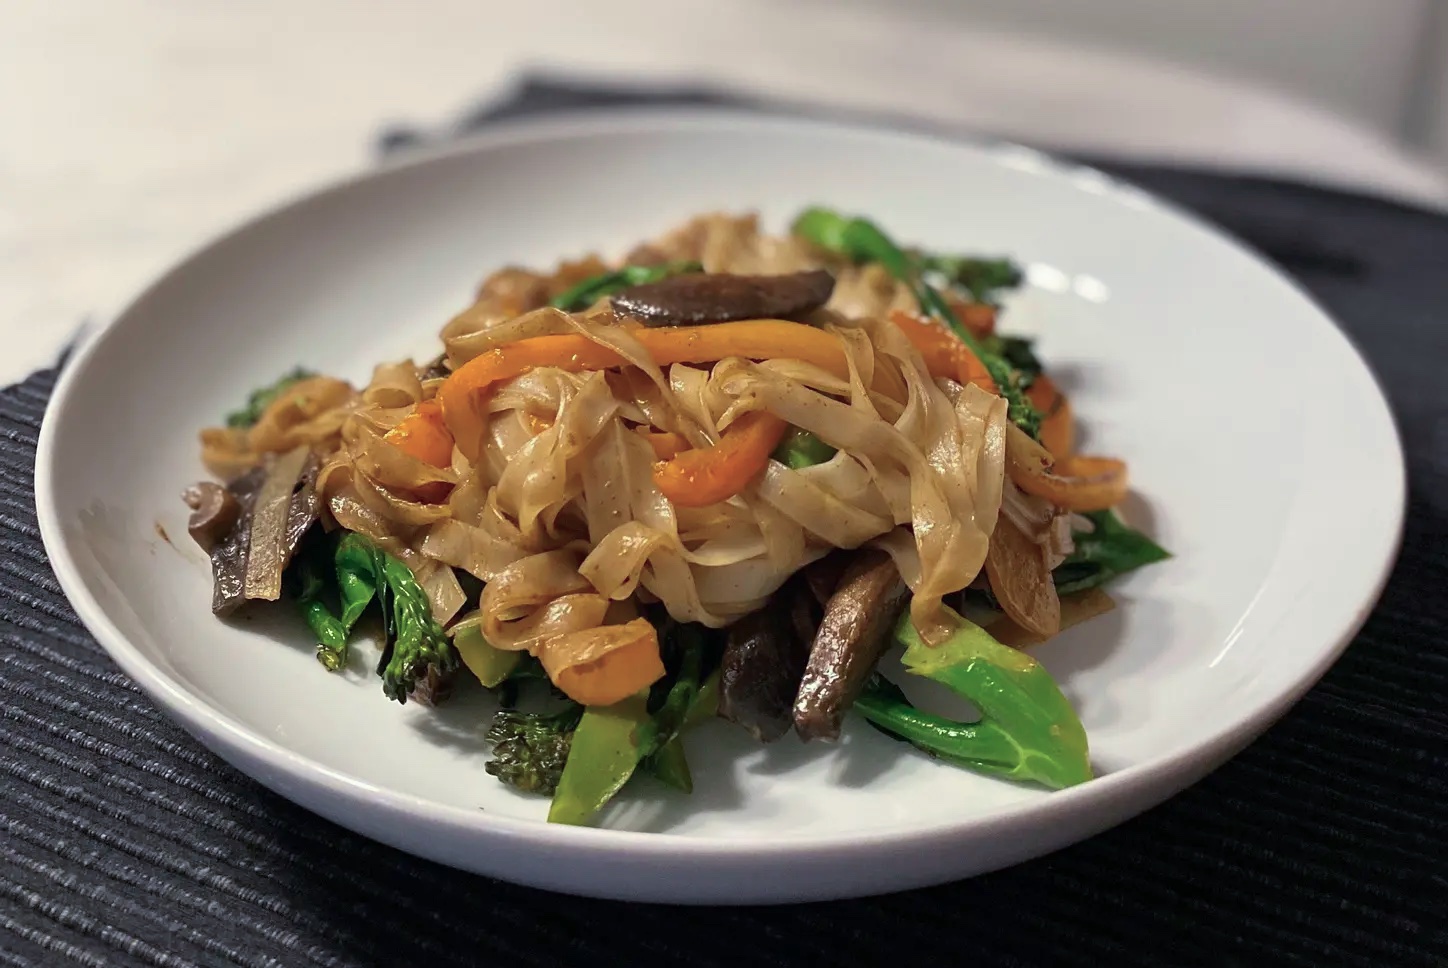
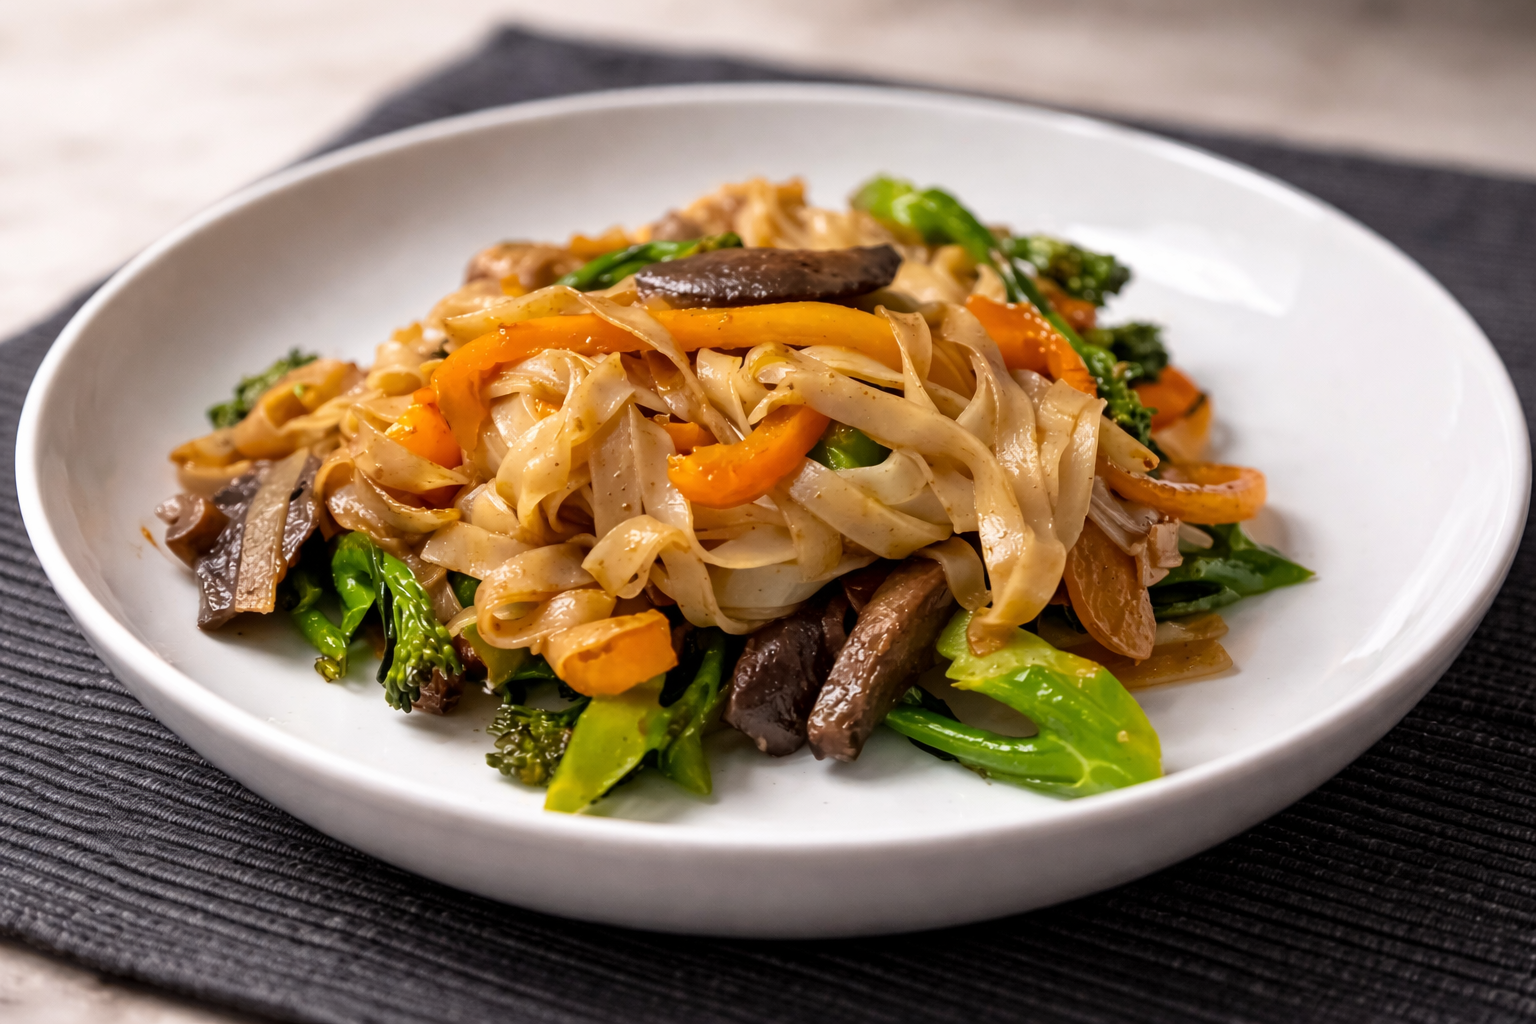
Before & After: Real Examples
See the difference professional photo enhancement makes. These are actual smartphone photos transformed with Plated:
 Before
 After
After
The enhanced photo shows improved lighting, vibrant colors, and professional color grading—exactly what catches a customer's eye on Uber Eats.
Uber Eats Photo Checklist
Do's
- Use natural lighting whenever possible
- Shoot from a 45-degree angle to show depth
- Fill the frame with the dish (minimal empty space)
- Show the portion size accurately
- Include garnishes and toppings visibly
- Use a clean, simple background
- Photograph fresh, just-prepared food
- Ensure consistent styling across your menu
Don'ts
- Use flash photography (creates harsh shadows)
- Include packaging or containers in hero shots
- Over-edit with heavy filters
- Use stock photos (customers want to see YOUR food)
- Leave menu items without photos
- Use blurry or pixelated images
- Show dirty plates or messy backgrounds
- Misrepresent portion sizes
How to Create Uber Eats Photos with Plated
You don't need expensive equipment or a professional photographer. Here's how to create Uber Eats-ready photos with your iPhone and Plated:
-
Prepare your dish
Plate the food as you would for a customer. Make sure it looks fresh and appealing. -
Find good lighting
Position near a window during daylight. Avoid direct sunlight which creates harsh shadows. -
Take the photo
Use your iPhone's main camera. Get close, but include the full dish. A 45-degree angle works best. -
Open Plated and enhance
Select "Menu" style for clean, professional results perfect for Uber Eats. -
Upload to Uber Eats Manager
Download your enhanced photo and upload it through Uber Eats Manager for your menu items.
 Before
 After
After
Create Uber Eats-Ready Photos in Seconds
Transform your smartphone photos into professional menu images with Plated.
Download PlatedUploading Photos to Uber Eats
Once your photos are ready, here's how to upload them:
- Log in to Uber Eats Manager (restaurant.uber.com)
- Go to Menu in the left navigation
- Click on the item you want to update
- Click the photo area to upload a new image
- Select your enhanced photo from your device
- Crop if needed (maintain the 3:2 ratio)
- Save your changes
Note: Changes may take a few hours to appear in the Uber Eats app. Make sure to preview your menu to verify photos display correctly.
Optimizing Your Hero Image
Your restaurant's hero image (the main photo customers see when they find your restaurant) is especially important. For the hero image:
- Choose your most photogenic, popular dish
- Use the highest quality photo you have
- Ensure the dish represents your cuisine well
- Consider seasonal updates to keep it fresh
Common Issues and Solutions
Photos look too dark
This is the most common problem. Use Plated's enhancement to brighten and improve lighting, or retake near a window during daylight hours.
Photos look blurry
Hold your phone steady or rest it on something stable. Make sure you're focusing on the food (tap the screen where the dish is).
Colors look wrong
Avoid mixing light sources (like natural light with overhead fluorescents). Plated's AI can correct color balance automatically.
Photos get cropped awkwardly
Leave some space around your dish when shooting. Use a 3:2 aspect ratio to match Uber Eats' display format.
Conclusion
Great photos on Uber Eats aren't optional—they're essential for success. By following the specifications and best practices in this guide, and using tools like Plated to enhance your images, you can create a menu that stands out and drives more orders.
Start with your best-selling items, then work through your entire menu. The investment in quality photos pays off every time a customer chooses your restaurant over the competition.